Contents
- Intro to Documents
- Accessing Documents
- Creating a folder or subfolder
- Uploading documents or images
- Uploading a new version of a document
- Viewing a document
- Document size limit
- List of supported file types
- Supported file naming conventions
- Moving or deleting files or folders
-
Uploading one or more folders to the main (parent) level of the client structure
- Downloading files
Intro to Documents
Work securely and efficiently from anywhere with our Documents tool. Benefit from the flexibility of unlimited document storage. Easily search for the documents you want and need within a standardized folder structure for each client. Organize your work with a sub-folder structure and the ability to create custom folders that support your firm's needs.
- Clear notification indicators allow you to quickly and efficiently see which documents are missing and still outstanding from clients. Get a nice shortcut to completing the task by clicking on the notification at the top of the screen.
- Cut down on those time-consuming clicks by using the on-screen document reader for easy viewing, commenting, and @mentioning functionality.
- Create continuity at your firm by staying on top of document changes with clear version history, easy version upload, and a full audit log to see who’s made changes to the document. Comment and tag your clients, staff, and the Botkeeper accounting team as questions arise!
- The Documents module tells you the date of the last file uploaded, in addition to its creation date. This will help you see at a glance when a new version of a document has been made available.
Accessing Documents
On the left-side navigation click on “Documents.” You should see the following view with the title “Documents” at the top. You'll see a folder for each of your clients in the system.
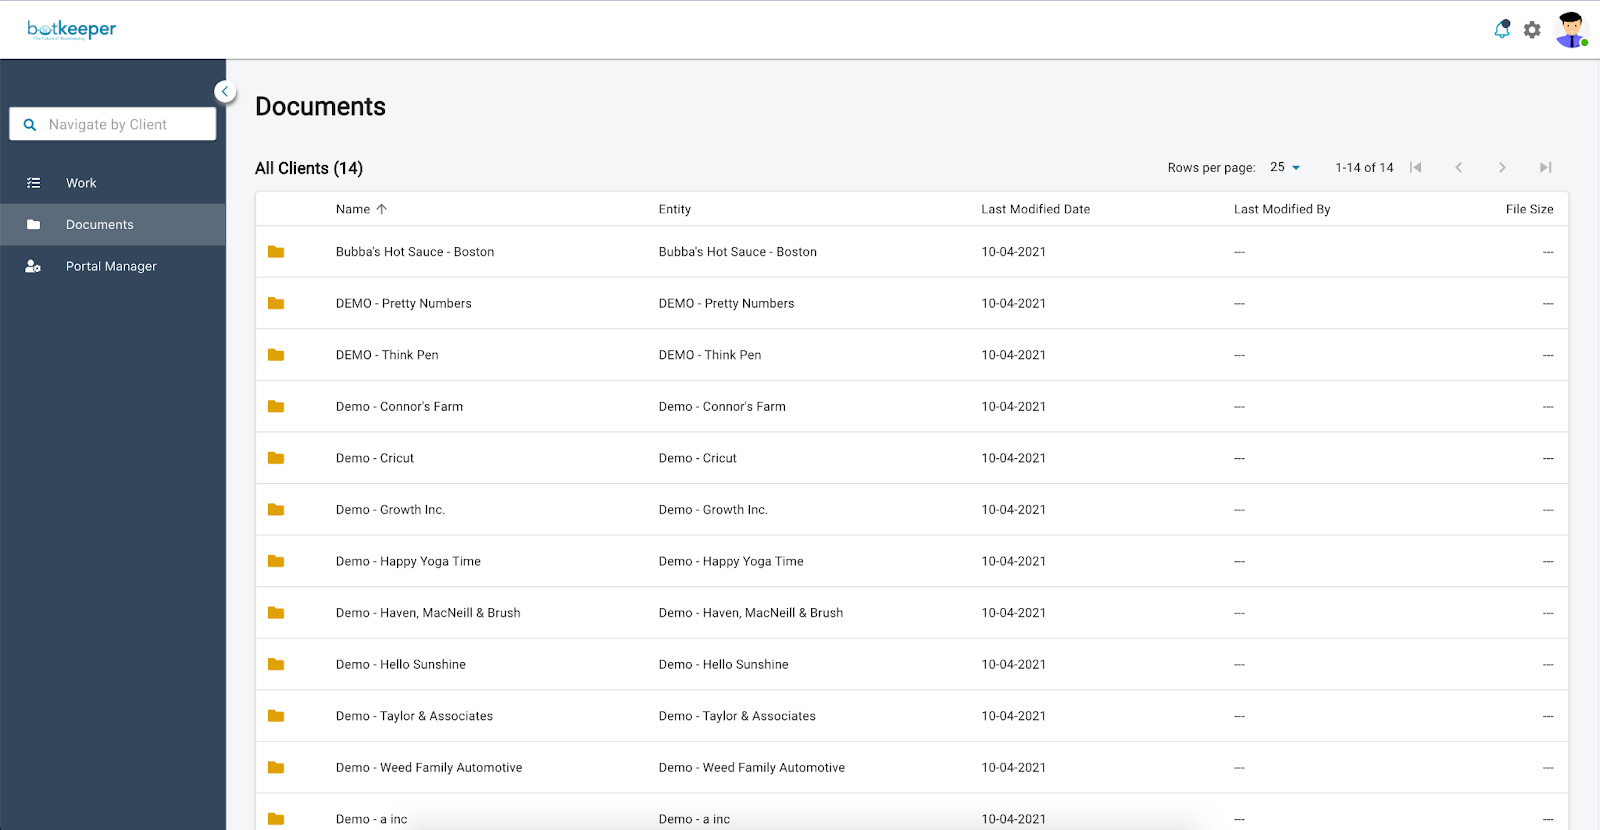
⚠️ Note: In Documents, each client is opened with a standard folder structure already set up. You may create sub-folders (Infinite clients ONLY) within any of these EXCEPT for Bank Statements.:
- Bank Statements
- Payroll Statements
- Loan Documentation
- Permanent Documents
- Management Reports
- Other folders will appear depending on the scope of work you have contracted for with Botkeeper.
You may also create your own folders, but please keep in mind all work with Botkeeper must be contained within the folders set up in your Portal.
Creating a folder or subfolder
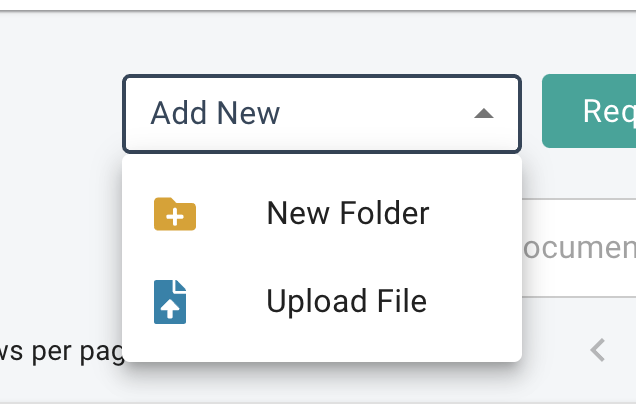
Once you've opened Documents and selected a client, you can easily create a new folder or subfolder. Simply click the Add New button in the upper right corner and select New Folder.

⚠️ When in the Global View (no client is selected), the main page for Documents is a list of client folders. You cannot add a folder to this level; folders and sub-folders may only be added within clients' folders—and remember you cannot add sub-folders to the Bank Statements folder.
Uploading documents or images
To upload a file to a folder click the folder you wish to upload the document/image to. Once in the folder, click “Add New” and select “Upload File.”
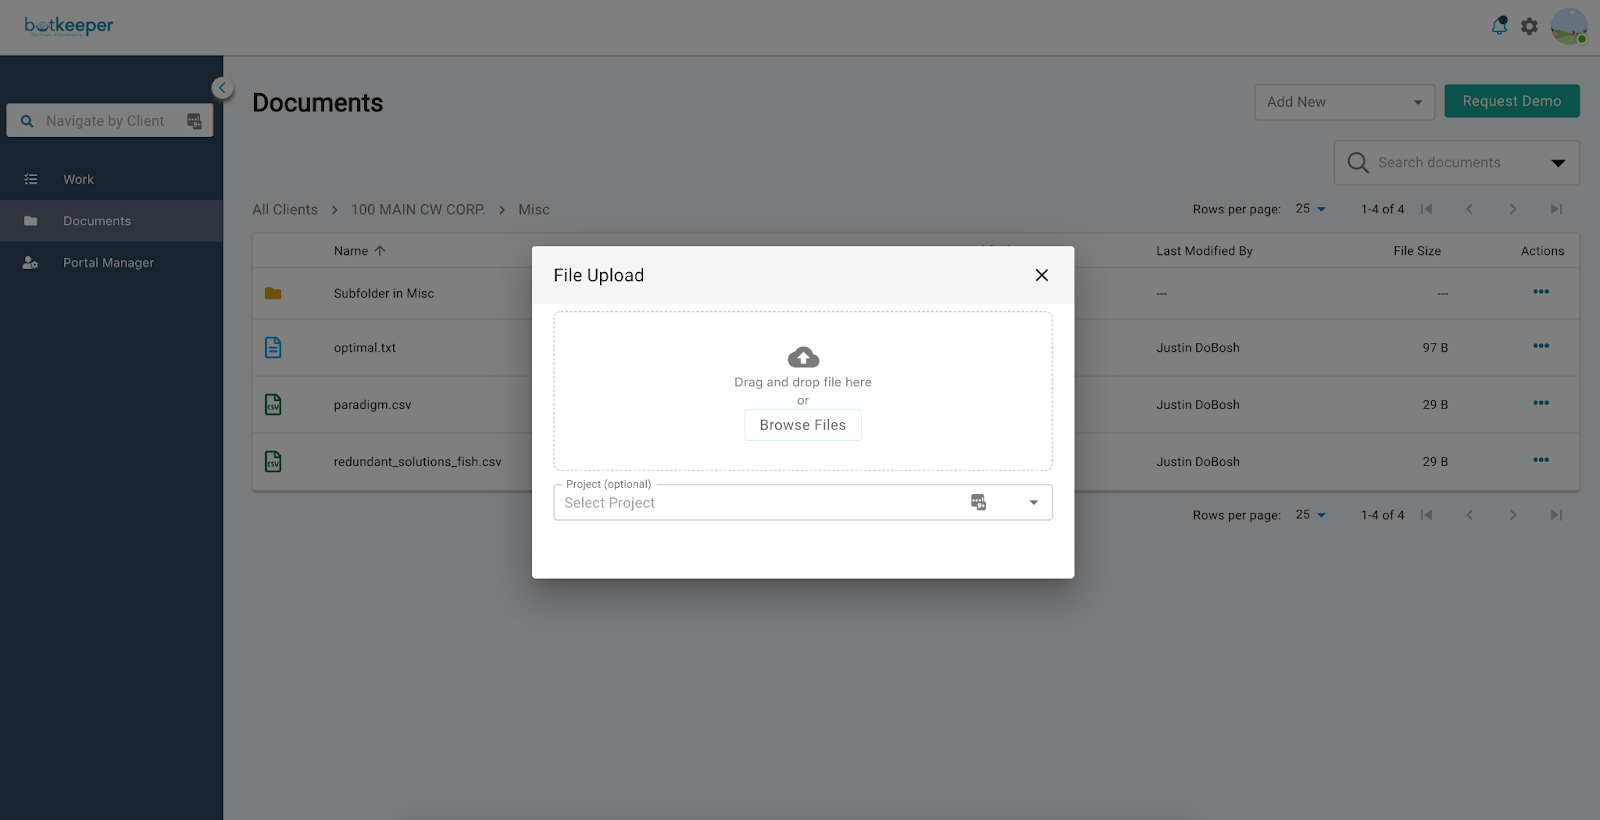
A popup window will appear where you can drag and drop files or browse your computer. If you are uploading from a task requesting a document, the task will automatically be marked as completed. You may upload files with or without a task assignment.
Bank statement uploads
There are a few different ways to get a bank statement uploaded to the platform. You can upload them as you would any document to the appropriate folder; upload them from a task requesting them; or upload them from Auto Bank Rec by doing the following:
- Go to Auto Bank Rec.
- Locate the account the upload is for.
- Click the Action button (three dots).
- Click Open Statement Folder button.
- Open the year subfolder the upload is for.
- Click Add New, Upload at the top right of the page.
- Select Browse Files/Browse Folders.
- Select the statement(s) to be uploaded.
- Click Upload.
Uploading documents from task banners
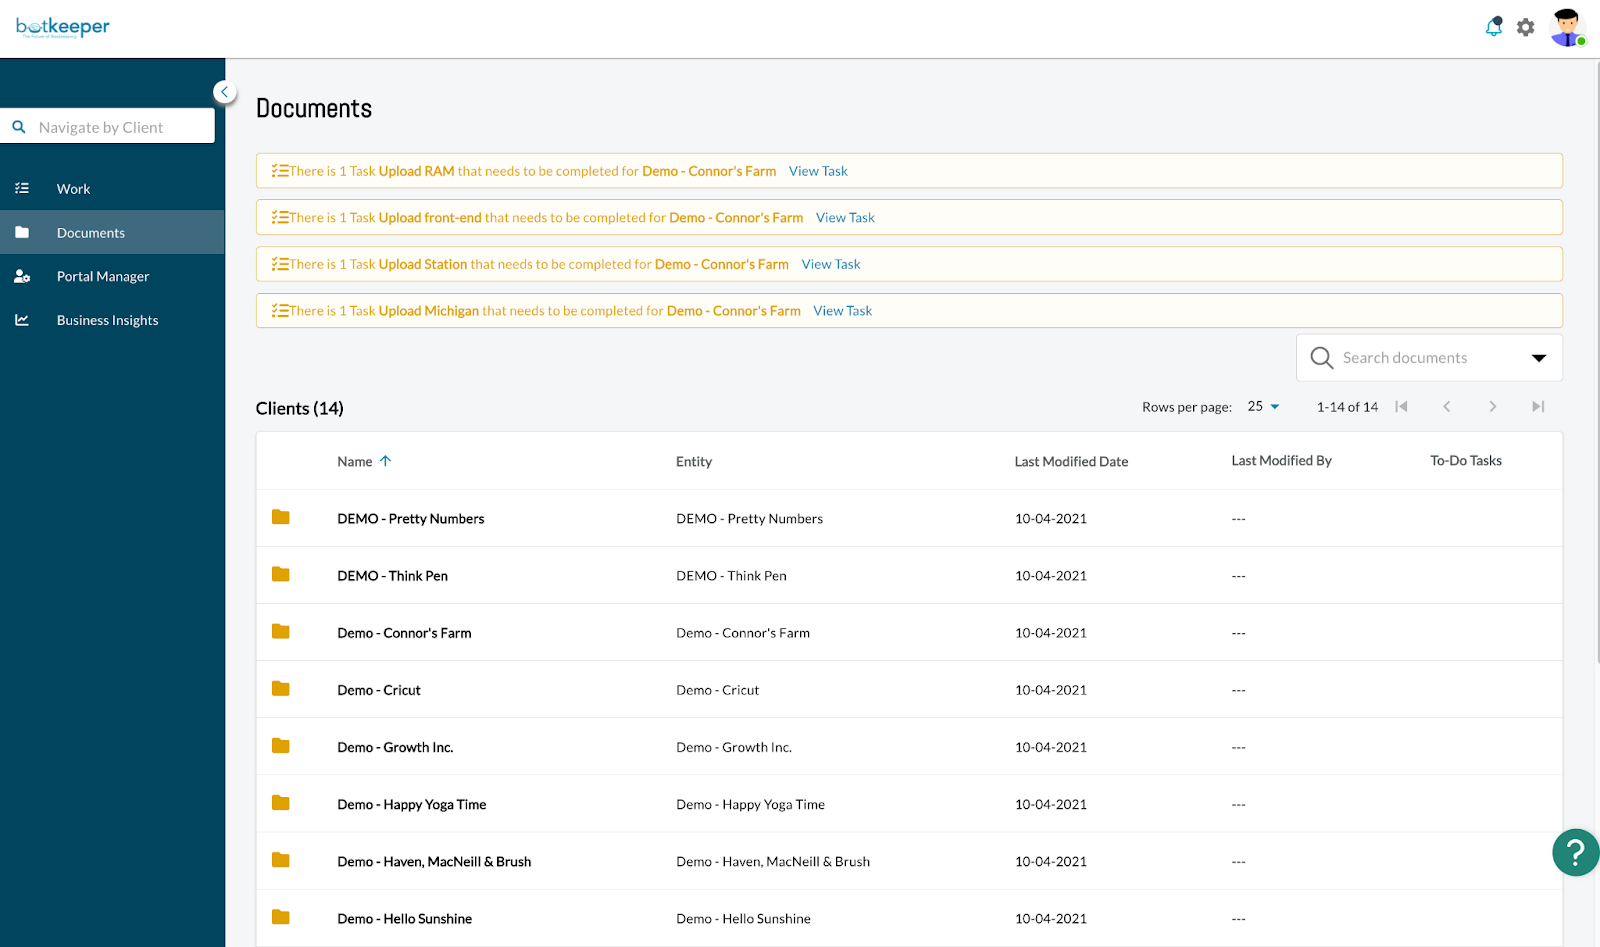
If there are open document request tasks assigned to you, you will see yellow banners at the top of the documents page. You can simply click on these banners and upload to the task from the Documents page. This will close the task on the Work page and upload the document into the correct folder.
Uploading a NEW version of a document
To upload a new version of a file, click “Action” (...), then click “Upload New Version.”
To upload a new version of a file, click “Action” (...), then click “Upload New Version.”

Viewing a document
To view a document within a file, click the name of the folder, then click once on the document you want to view.
Document size limit
Botkeeper's current Document size limit is 5 gigabytes per document.
List of Supported File Types:
-
CSV (.csv)
CSV stands for "Comma Separated Values." This format stores tabular data, such as spreadsheet or database contents, with data typically separated by commas. It's easily exported into various software platforms, including most spreadsheet applications like Microsoft Excel. -
DOC (.doc)
DOC is the file extension for word processing documents primarily associated with Microsoft Word. It's commonly used for reports, letters, and other text-based documents. -
DOCX (.docx)
DOCX is a modernized version of the DOC format, introduced with Microsoft Word 2007, offering a more compact file size and enhanced external source integration. -
DOT (.dot)
DOT files are template files created by Microsoft Word, providing a foundation for new documents with predefined settings and layouts. -
JPEG (.jpeg)
JPEG stands for "Joint Photographic Experts Group". It's a widely used method of lossy compression for digital images, especially for digital photography. -
JPG (.jpg)
JPG is synonymous with JPEG, often adopted for digital photos, web graphics, and email due to its balance between file size and quality. -
PDF (.pdf)
PDF, or "Portable Document Format", is used to present and exchange documents with a consistent appearance, regardless of software, hardware, or operating systems. -
PNG (.png)
PNG, or "Portable Network Graphics", is a raster graphics format supporting lossless data compression, primarily used for web images and software applications. -
TXT (.txt)
TXT files are standard text documents, housing unformatted text. They're widely used for notes, instructions, and other text-based information. -
WBK (.wbk)
WBK files are backup documents generated by Microsoft Word, serving as a safety copy for the original document. -
WIZ (.wiz)
WIZ files, or wizard files, are utilized by Microsoft Word. They contain macros and instructions to guide users through specific tasks in the software. -
XLS (.xls)
XLS is the principal file format for Microsoft Excel, storing information in tabular form with rows and columns. -
XSLX (.xlsx)
XSLX is the updated file format for Microsoft Excel, introduced with Excel 2007, offering additional features and a default setting for newer Excel versions.
Supported File Naming Conventions
Botkeeper supports AlphaNumeric naming conventions only. Please ensure there are no special characters within the file name before trying to upload it to your Portal. Doing so will prevent the file from being uploaded to Botkeeper.
Your access level will determine your ability to delete files or folders:
- Partner admins can delete files/folders created by:
- System (except the Trash folder)
- Self
- Partner admin
- Partner ops
- Client admin
- Client ops
- Partner ops can delete files/folders created by:
- Self
- Client admin
- Client ops
Delete files:
- Be sure you have selected a client in the left-hand navigation, and are in the Documents module.
- Click the Action Button
 to the right of the file you wish to delete.
 - You may choose to Move to Trash, which will leave the file in the trash for 90 days before permanently deleting it; or, you may choose to Permanently Delete, which will immediately and irrecoverably delete the file.

Move individual files:*
- Locate the file you wish to move in the Documents module.
- Click the Action Button to the right of the file you wish to move.
- Select Move.
- Click the Folders hypertext appearing in the popup window.
- Choose the folder you wish to move the file to.

Move multiple files at once (bulk):*
- Locate the files you wish to move in the Documents module.
- Click the checkbox to the left of each file you wish to move.
- Select the Move button.

- Click the Folders hypertext appearing in the popup window.

- Choose the folder you wish to move the files to. Here, we'll choose My Documents.

- Click Move.

⚠️ *NOTE: You cannot move files between clients. If you mistakenly upload a file to the wrong client, you will need to delete it and re-upload it to the correct client.
To delete a folder:
- Be sure you have selected a client in the left-hand navigation, and are in the Documents module.
- Click the Action Button to the right of the folder you wish to delete.
- If the folder is not a system folder, you may choose to Move to Trash, which will leave the folder in the trash for 90 days before permanently deleting it; or, you may choose to Permanently Delete, which will immediately and irrecoverably delete the folder. If the folder is a system folder, you can only choose to Permanently Delete it.

⚠️ NOTE! When attempting to delete a folder from Documents, users will now be prompted to assign a new folder to any open document upload tasks mapped to the folder being deleted. These tasks can be ind
ividually assigned to new folders, or reassigned in bulk to a single folder. Users may also choose to delete the open tasks associated with the folder undergoing deletion.
- If you don't have the permission to resolve the open document upload request tasks, you will see Move to Trash disabled with a tooltip.
- If Hide resolved tasks is toggled on, tasks that have already been marked as deleted or had the folder updated will be hidden from the list.
- The Delete Tasks and Update Folder at the top of the modal allow for bulk update when the checkboxes are selected to update more than one task at a time.
- No tasks are actioned until the Save & Close or Move to Trash button is clicked.
- All tasks must be resolved for Move to Trash to be enabled (see below)

With just a few steps, you can upload one or more folders to exist alongside the system-generated folders, for easy access.
- Click the Documents selection in the left menu.
- Click the Add New button in the upper right of the screen.
- Select Upload from the drop-down menu.
- Drag and drop your folder(s), or use the Browse Folders button to search for them.
- Click the green Upload button.
Please note that empty folders will not upload. You may create a new folder in the portal, or fill any preexisting empty folder you wish to transfer with at least one document prior to transfer.
Downloading files
To download an individual file, click “Action” (...), Then click “Download.” You can download multiple files at once by clicking the checkbox to the left of every document you wish to download, then clicking the bulk Download button at the top of the document list:
